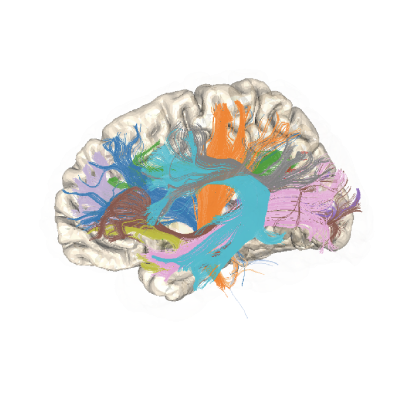
Running pyAFQ using the GPU for tractography#
Running pyAFQ using the GPU for tractography is as simple as
(1) Installing GPUStreamlines using pip install and
(2) passing in the jit_backend parameter when you create your
GroupAFQ object.
To install GPUStreamlines, do:
pip install git+https://github.com/dipy/GPUStreamlines.git
That’s step 1 complete! The rest of this example is the same as the GroupAFQ
example except with the jit_backend parameter set.
from AFQ.api.group import GroupAFQ
import AFQ.data.fetch as afd
import os.path as op
import plotly
We start with some example data. The data we will use here is generated from the Stanford HARDI dataset. We then setup our myafq object which we will use to demonstrate the clobber method.
afd.organize_stanford_data()
Set tractography parameters#
We make create a tracking_params variable to define the parameters for tractography.
The only parameter we need to set to use the GPU is jit_backend,
which we set to “cuda”. Other backends include: “metal”, “webgpu”, or “numba”.
Numba is the default.
Note that the GPU backend will only run for probabilistic tracking,
which is the default.
tracking_params = dict(n_seeds=1e7,
                       random_seeds=True,
                       rng_seed=2025,
                       jit_backend="cuda",
                       trx=True)
Running with the GPU#
Then, run pyAFQ normally. That’s it!
myafq = GroupAFQ(
    bids_path=op.join(afd.afq_home, 'stanford_hardi'),
    dwi_preproc_pipeline='vistasoft',
    t1_preproc_pipeline='freesurfer',
    tracking_params=tracking_params)

bundle_html = myafq.export("all_bundles_figure")
plotly.io.show(bundle_html["01"][0])